
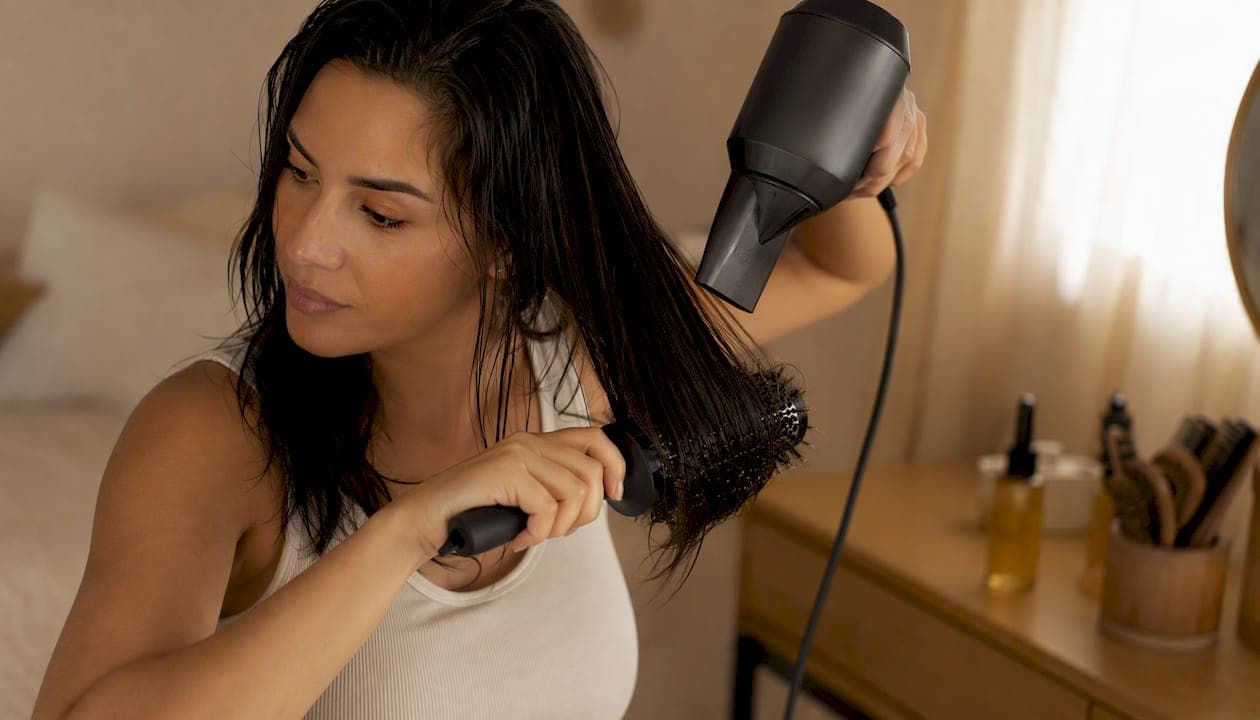
You can get a salon-style blowout at home by prepping clean, damp hair, rough-drying until the hair is mostly dry, working in small sections with a round brush while directing airflow down the shaft, and setting each section with a cool shot. Plan on 15–60 minutes depending on your hair length and thickness. According to Allure's expert guide and the multi-source consensus at Styler.hair, the reliable sequence is: wash → remove excess water → apply heat protectant → rough-dry → section → smooth with a round brush → cool-shot → finish lightly.
Minimum kit: a hair dryer with a concentrator nozzle, one medium round brush, and a heat protectant. Ideal kit: a high-airflow dryer with heat control, boar or mixed-bristle round brushes in two sizes, sectioning clips, a leave-in conditioner, heat protectant, and a light finishing serum or flexible-hold hairspray.
Table of Contents
- What tools and products do you actually need for a blowout?
- How do sectioning and brush size affect your results?
- How to do a blowout step by step
- How do you adapt the technique for your hair type?
- When do rollers or a multi-styler fit into the routine?
- How do you make a blowout last 1–3 days?
- What are the most common blowout mistakes and how do you fix them?
- Why prep and product choice determine your blowout quality
- How long does a home blowout take and what does it cost?
- Key Takeaways
- The blowout is a skill, not a secret
- Your next step toward a better blowout
- Useful sources and further reading
What tools and products do you actually need for a blowout?
You do not need a salon's worth of equipment. You need the right few things, chosen well.
| Tool / Product | What to look for | Budget or splurge? |
|---|---|---|
| Hair dryer | high wattage, concentrator nozzle, cool-shot button | Splurge here — airflow matters most |
| Round brush | Boar or mixed boar/nylon bristles; barrel matched to length | Mid-range is fine |
| Sectioning clips | Duckbill or butterfly clips | Save — any brand works |
| Heat protectant | Spray or cream with thermal protection | Mid-range |
| Leave-in conditioner | Lightweight formula for your texture | Save |
| Finishing serum or cream | Silicone-free or light silicone for shine | Save |
| Flexible-hold hairspray | Buildable hold, not stiff | Mid-range |
The dryer is where your money does the most work. A dryer with strong, consistent airflow shortens drying time and reduces heat exposure. The Dyson Supersonic is a widely cited example of a high-airflow, heat-controlled option, and the Dyson Airwrap functions as a multi-styler that can replace round-brush shaping for certain lengths. Both are premium investments, but technique and prep remain the primary determinants of outcome, as Forbes notes in its expert blowout guide. A solid mid-range dryer with a concentrator nozzle gets you most of the way there.
For brushes, Olivia Garden and Denman are widely available U.S. options with good bristle quality across price points. A concentrator nozzle, which most dryers include, focuses airflow and flattens the cuticle for shine. Never skip it.
Pro Tip: Buy two round brushes: a smaller barrel (1–1.5 inches) for face-framing pieces and a larger barrel (2–2.5 inches) for the body of your hair. That one swap makes a visible difference in the finished shape.
How do sectioning and brush size affect your results?
Sectioning is the step most home stylists skip or rush, and it shows. Working in clean, manageable sections is what separates a polished blowout from a puffed-up mess.
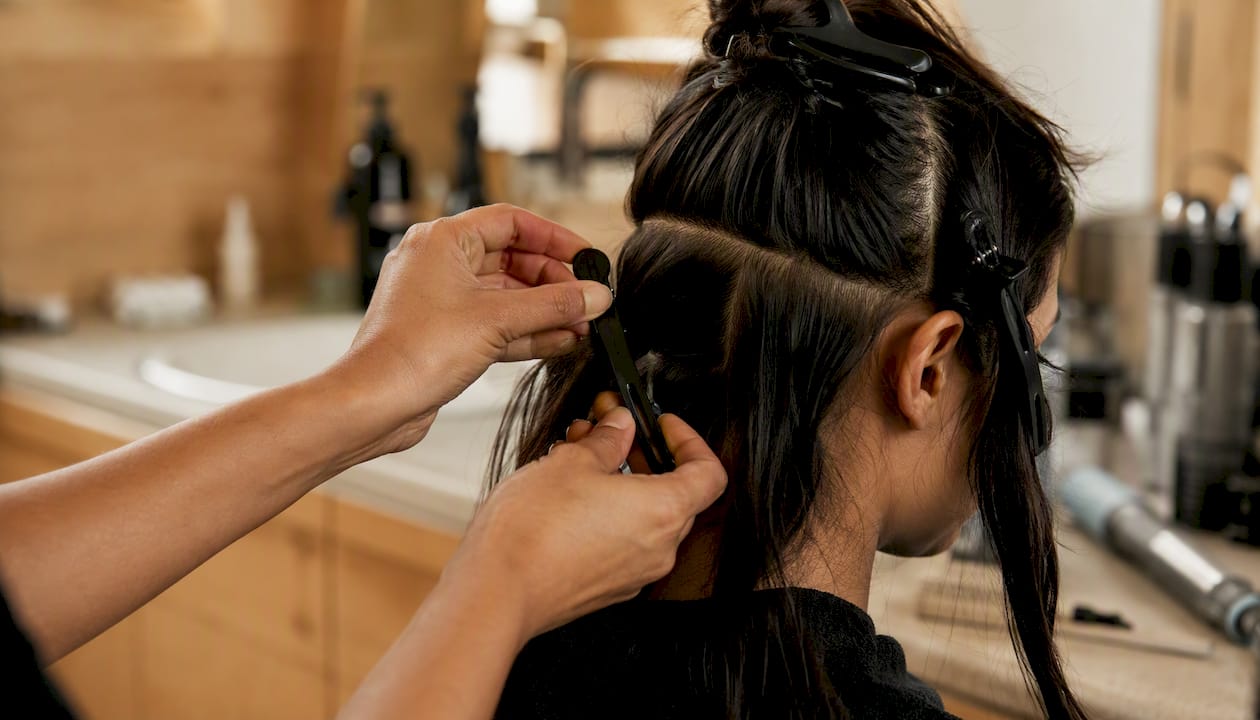
Behindthechair.com's stylist guide recommends working in slight diagonal zones rather than strict horizontal bands. Diagonal sections allow the round brush to move more naturally through the hair and maintain consistent tension from roots to ends, which means smoother results with fewer passes.
| Hair length | Recommended barrel size | Finished effect |
|---|---|---|
| Short (above chin) | 1–1.5 inches | Tight bend, face-framing curl |
| Shoulder-length | 1.5–2 inches | Balanced volume and bend |
| Long (below shoulder) | 2–2.5 inches | Loose movement, soft wave |
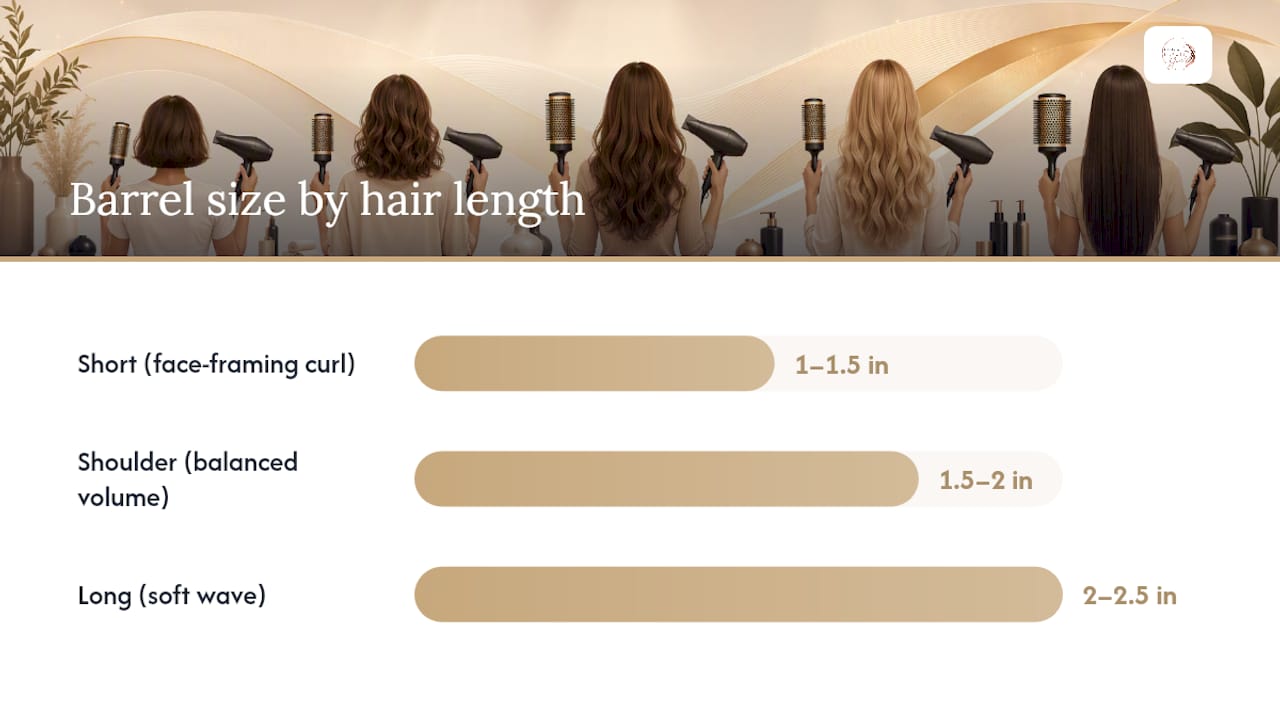
L'Oréal Paris confirms that brush barrel size directly influences the bend and volume of the finished blowout: smaller barrels create tighter bends and face-framing shape, while larger barrels produce softer waves and more overall volume. For bristle type, boar or mixed boar/nylon bristles smooth and add shine. Vent or paddle brushes work well for the rough-dry stage when you just need to move moisture out quickly, then swap to a round brush for the shaping pass.
Pro Tip: Start at the nape and work upward. The nape sections are the least visible, so they are the best place to practice your tension and brush technique before you get to the crown and face-framing pieces.
How to do a blowout step by step
This is the core sequence. Follow it in order and you will see a real difference from the first attempt.
-
Rough-dry until the hair is mostly dry before using a round brush. Flip your head forward or use a paddle brush and medium heat to remove most of the moisture before you touch a round brush. Starting with soaking-wet hair is the single biggest DIY mistake: it overexposes your hair to heat and exhausts your arms before you even begin the shaping pass. This rough-dry stage usually takes 5–10 minutes.
-
Divide hair into sections. Clip the top two-thirds of your hair up. Work from the nape upward in diagonal subsections about 1–2 inches wide.
-
Wrap each section on the round brush. Place the brush at the root, wrap the hair around the barrel, and hold it taut. Aim the concentrator nozzle downward along the shaft — always down, never up. Directing airflow down the hair shaft smooths the cuticle and creates shine.
-
Follow the brush with the nozzle. Move the dryer and brush together from root to ends in one smooth pass. Keep the nozzle about an inch from the brush. Maintain tension throughout.
-
Use the cool shot before releasing. While the hair is still wrapped around the brush, hit the cool-shot button for 5–10 seconds. This is the stylist's secret: cooling while wrapped locks the shape and extends hold, according to Behindthechair.com. Let the section cool fully before brushing through.
-
Work upward through each zone. Release the next section from the clip, repeat the wrap-and-follow technique, and cool-shot before releasing. Crown sections: angle the brush upward at the root for lift. Face-framing pieces: use your smaller barrel and roll the ends under or away depending on your preferred finish.
-
Finish the full head, then assess. Once all sections are done and cooled, run your fingers through lightly. Any section that feels stiff or looks uneven can get one more warm pass followed immediately by a cool shot.
Pro Tip: For the crown, place the brush underneath the section and roll upward while directing the nozzle at the root. That root-lift technique is what gives a blowout its signature volume at the top.
How do you adapt the technique for your hair type?
The core sequence stays the same. What changes is section size, product weight, and heat setting.
Fine hair needs smaller subsections at the roots to build lift without weight. Use lighter products — a volumizing mousse or a light heat protectant spray rather than a cream. Medium heat settings protect fragile strands while still creating body. Focus the round brush at the root and angle upward for maximum lift.
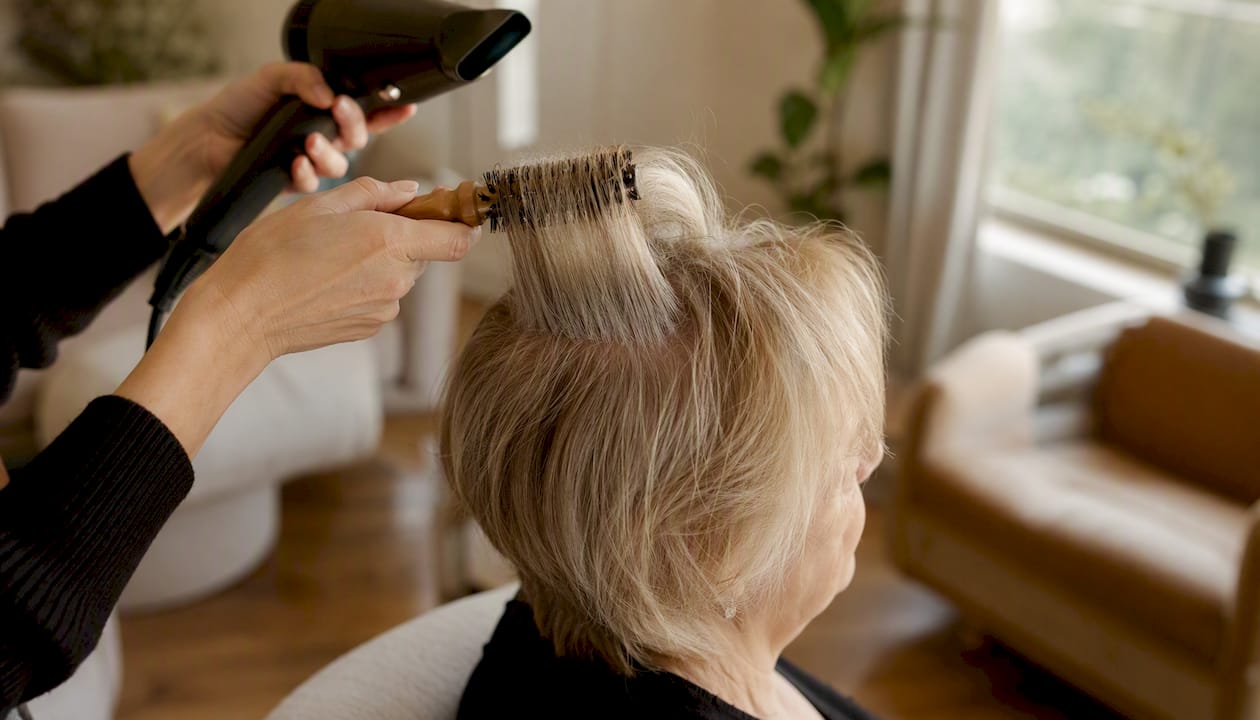
Thick hair benefits from a two-pass approach: a quick paddle-brush or push-dry pass to remove bulk first, then smaller subsections with a round brush for the shaping finish. Higher airflow helps, but keep heat at a controlled level rather than cranking it to maximum. Smaller subsections are the real key, not more heat.
Curly and coily hair requires stretching during the rough-dry stage. Use a smoothing leave-in and work the dryer and a denser-bristle brush through sections while applying gentle tension. The goal is to elongate the curl pattern before the round-brush pass, not to fight it. A diffuser attachment for the rough-dry stage can reduce frizz before you switch to the concentrator.
Layered hair needs attention at the shorter front pieces. Switch to your smaller barrel brush around the face and blend the layers by rolling the ends under or away. Shorter layers dry faster, so work them last to avoid over-drying.
Pro Tip: If you have thick or curly hair, clip a section up and let each finished section cool completely before moving on. Rushing through while sections are still warm undoes the shape you just set.
When do rollers or a multi-styler fit into the routine?
Rollers and multi-stylers are not replacements for the blowout technique. They are finishing tools that extend what the blow-dry already built.
- Velcro rollers work best on warm-but-cooled sections. After you release a section from the round brush and it has cooled, roll it onto a Velcro roller and leave it while you finish the rest of the head. The result is longer-lasting volume without any extra heat passes.
- Foam rollers add a softer, more defined bend and work well on fine hair that needs hold without weight.
- Air-wrap style multi-stylers (the Dyson Airwrap being the most widely known) can replace the round-brush shaping step for certain lengths, particularly shoulder-length and longer hair. Treat them as a finishing step after rough-drying, not a substitute for prep. As Forbes confirms, high-end multi-stylers can reduce passes and improve results, but prep and technique remain the primary drivers of quality.
The practical sequence when combining tools: rough-dry → section → shape with round brush or multi-styler → cool-shot → set on Velcro rollers as needed → release and finish.
How do you make a blowout last 1–3 days?
The finishing step is where most home blowouts fall apart. Too much product kills the movement. Too little and the style drops by noon.
- Flexible-hold hairspray: mist from 8–10 inches away to avoid stiffness. A quick pass at the crown adds hold without crunch. Vogue's editor routine highlights how a short, well-chosen product list plus simple finishing moves increases daily wearability.
Pro Tip: Spray your flexible-hold hairspray on the brush, not directly on your hair. Brush through lightly. You get even distribution without any stiff patches.
What are the most common blowout mistakes and how do you fix them?
Most blowout problems trace back to one of three root causes: starting too wet, uneven product application, or overworking sections.
-
Flat roots. You skipped root-lift during the drying stage or used heavy products at the scalp. Fix it mid-routine by angling the brush upward at the root and using the cool shot while the brush is still in place. Going forward, use smaller subsections at the crown and keep styling products off the roots entirely.
-
Frizz throughout. Usually means hair was still too wet when you started the round-brush pass, or heat protectant was unevenly applied. Rough-dry more aggressively before sectioning, and make sure your heat protectant reaches every strand. Always direct the nozzle down the shaft, never upward, which lifts the cuticle and creates frizz. L'Oréal Paris and Allure both flag consistent heat protection and restraint from repeated passes as the core of frizz prevention.
-
Crunchy or overworked ends. Stop reworking the same section. If ends feel stiff or look frayed, lightly mist with water and re-shape with one warm brush pass followed immediately by a cool shot. A quick touch with a flat iron on the very ends is fine if needed, but watch for signs of heat damage: white dots on the strand, extreme brittleness, or a gummy texture when wet. Those are signals to lower your heat setting and add a deeper conditioning treatment to your weekly routine.
Pro Tip: Set a rule for yourself: two passes maximum per section. If it is not right after two passes, move on and come back once it has fully cooled. Repeated hot passes are what cause damage, not the heat itself.
Why prep and product choice determine your blowout quality
The science behind a great blowout is straightforward. Hair is made of overlapping cuticle scales. Heat opens those scales slightly, allowing you to reshape the strand. The cool shot closes them back down around the new shape, locking it in place. That is why rough-drying first matters: applying a round brush to soaking-wet hair means prolonged heat exposure before the cuticle can set, which leads to frizz, damage, and a shape that drops within hours.
Allure's expert guidance is direct: a great blowout begins in the shower, and over-wet starts or skipping heat protectant are the most common causes of poor results. Heat protectant products work by forming a barrier that distributes heat more evenly across the strand, reducing the peak temperature the cuticle experiences.
This guide reflects the editorial and stylist consensus from sources including Allure, Behindthechair.com, L'Oréal Paris, Forbes, and Vogue, curated for home stylists who want real results without guesswork.
Pro Tip: If you want to build your knowledge of hair health alongside your styling skills, Theultimatebeauty-you connects you with expert guides and curated resources for every stage of your beauty growth.
How long does a home blowout take and what does it cost?
Time by hair length:
- Short hair (above chin): 15–25 minutes
- Medium hair (shoulder-length): 25–40 minutes
- Long hair (below shoulder): 40–60 minutes
First-time blowouts may take longer. With practice, you can often cut your time by 30–40% within a few sessions.
Estimated kit costs (U.S. prices):
- Minimum kit (basic dryer + one round brush + heat protectant): $40–$80
- Mid-range kit (quality dryer + two brushes + leave-in + heat protectant + finishing spray): $100–$200
- Pro kit (high-airflow dryer or multi-styler + full brush set + full product lineup): $300–$600+
Must-buy items:
- Hair dryer with concentrator nozzle and cool-shot button
- Round brush matched to your hair length
- Heat protectant (spray or cream)
- Sectioning clips
Nice-to-have upgrades:
- Second round brush in a different barrel size
- Velcro rollers for extended volume hold
- Microfiber towel for gentler moisture removal
- Silk pillowcase for overnight protection
- Dry shampoo for day-two refresh
When assembling your kit, consider choosing brands that align with responsible sourcing. Organizations like One Percent for the Planet certify companies that donate a portion of revenue to environmental causes, which is worth checking when comparing product brands.
Key Takeaways
A salon-quality blowout at home comes down to three things: starting with properly prepped, damp (not wet) hair, working in small sections with consistent tension and downward airflow, and using the cool shot to lock every section before releasing it.
| Point | Details |
|---|---|
| Rough-dry first | Get hair to about 70–85% dry before using a round brush to prevent heat damage and frizz. |
| Match brush to length | Use a 1–1.5 inch barrel for short hair and a 2–2.5 inch barrel for long hair to control bend and volume. |
| Cool shot is non-negotiable | Hit the cool-shot button while hair is still wrapped on the brush to lock the shape and extend hold. |
| Finish light | Apply serum and hairspray to mid-lengths and ends only; keep product off roots to preserve volume. |
| Theultimatebeauty-you | The platform offers curated expert guides and product resources to support your at-home styling growth. |
The blowout is a skill, not a secret
Here is what most blowout guides will not tell you: the first one will not be perfect, and that is exactly the point.
The techniques in this guide, diagonal sectioning, rough-drying to 70–85%, the cool-shot lock, are not tricks reserved for professionals. They are repeatable skills. The gap between a salon blowout and a home blowout is almost never about tools. It is about muscle memory. Stylists do this every day. You will do it once a week, maybe twice. Give yourself three or four sessions before you judge the result.
The other thing worth saying: a blowout is not a substitute for hair health. If your ends are dry, if your hair is breaking, if you are fighting frizz every single time, the answer is not more heat. It is a better conditioning routine, a gentler towel-dry, and possibly a break from heat altogether. Beauty is becoming. That means growing your skills and protecting what you have at the same time.
Your next step toward a better blowout
Knowing the technique is one thing. Having the right products, the right guidance, and a community that keeps you inspired is another. Theultimatebeauty-you is built for exactly that: a women-centered platform where curated styling tools and product picks sit alongside expert advice, wellness resources, and a community of women who are all in the process of becoming.

Whether you are assembling your first blowout kit or refining a routine you have had for years, Theultimatebeauty-you connects you with the resources, experts, and inspiration to make every styling session count. Visit The Ultimate Beauty - You! to explore curated guides, connect with beauty experts, and find the products that fit your hair, your goals, and your life.
Useful sources and further reading
- How to Give Yourself Blowout at Home — Expert Tips | Allure
- The Blowout Sequence Behind a Faster, Smoother Finish — Behindthechair.com
- How to Give Yourself a Salon-Style Blowout at Home | Styler.hair
- How To Achieve the Perfect At-Home Blowout Hairstyle | L’Oréal Paris
- How To Do A Blowout On Any Hair Type, According To An Expert | Forbes
- This Easy Blowout Routine Gets Me Nonstop Compliments | Vogue
- onepercentfortheplanet.org