
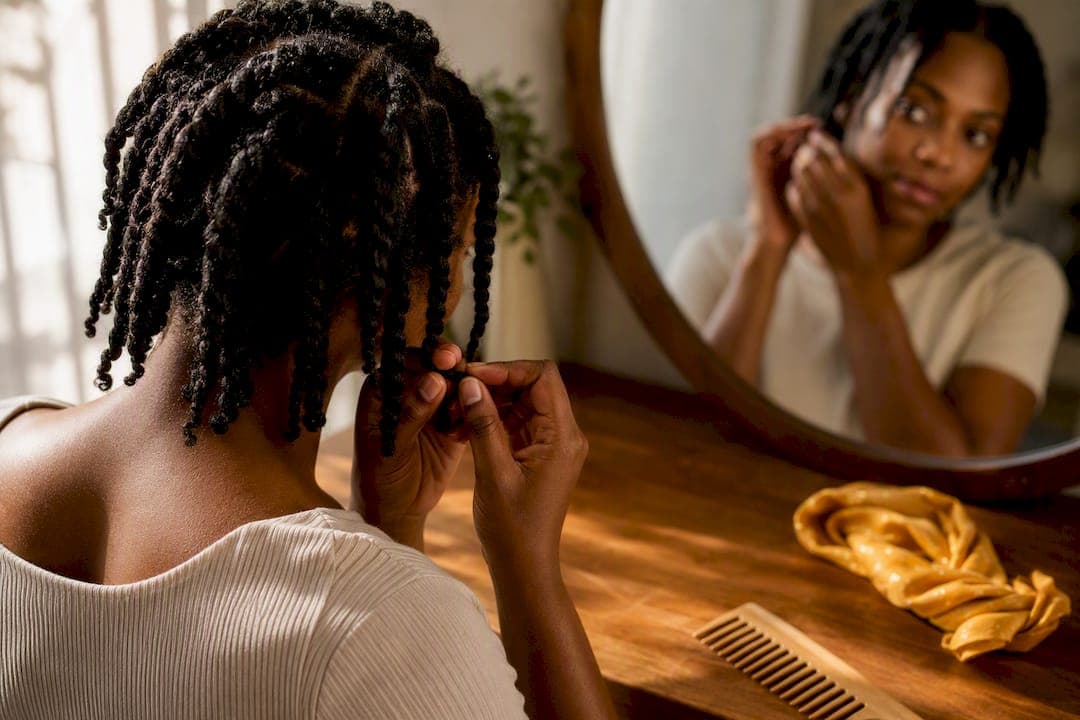
Protective hairstyles tuck away your ends, cut down on daily manipulation, and limit heat exposure so your hair can grow without breaking off at the same rate. The lowest-risk starter styles are two-strand twists, flat twists, loose buns, short and thicker braids, and a low-tension wig base. But no single style is automatically safe. Protection comes down to tension, weight, scalp access, and how well you maintain the style once it's in.
TL;DR:
- Styles with low tension, such as two-strand twists or loose buns, are safest for fragile hair and should be kept loose to avoid scalp irritation.
- Heavy extensions, tight micro-braids, and styles pulling the scalp tight increase risk of damage and visible hair loss, especially along the edges.
- Proper installation, gentle removal, and regular scalp check-ins during wear help prevent early traction alopecia and promote healthy growth.
- Routine recovery involving gentle cleansing, targeted hydration, and scalp monitoring over six weeks minimizes breakage and supports length retention.
- DIY protective styles are viable for simple designs, but professional installation is recommended for styles requiring added hair to ensure even tension.
Table of Contents
- What Counts as a Protective Hairstyle?
- How to Install, Wear, and Remove a Protective Style Safely
- Warning Signs Your Protective Style Has Crossed the Line
- Matching Protective Styles to Your Hair's Length and Goals
- A 4 to 6 Week Scalp Recovery Routine Worth Following
- Should You DIY Your Protective Style or Book a Professional?
- Beauty Is Knowing When to Change the Style
- Let Theultimatebeauty-you Guide Your Next Protective Style
- Sources
- FAQ
What Counts as a Protective Hairstyle?
A protective hairstyle is defined by what it does, not what it looks like. It shields your ends from friction, reduces how often you touch and restyle your hair, and lowers your reliance on heat tools. That's the definition Healthline uses, and it's a useful one because it means almost any style, from a twist-out to a full sew-in, qualifies as long as it's installed without excessive pulling.
Here's where most style guides stop short. They rank options as "protective" or "not protective" without mentioning that the same braid can be gentle on one head and damaging on another, depending on section size, hair density, and how tightly it's parted. A style is a tool. Whether it protects or harms depends on how you use it.
Common protective styles, ranked by everyday risk factors:
- Two-strand twists. Low tension, low weight, easy scalp access. Great for fragile or shorter hair. Do: keep sections loose. Don't: twist so tight your scalp feels tugged for days.
- Flat twists. Similar tension profile to two-strand twists but lie closer to the head, so they're friendlier for workdays and workouts. Best for short to medium hair.
- Knotless braids. Lower tension at the root than traditional box braids because hair is fed in gradually instead of knotted at the base. Medium maintenance. Good for medium to long hair.
- Traditional box braids. More tension at the root than knotless styles, and heavier when extensions are added. Fine for medium or thick hair when sections are kept large.
- Bantu knots. Minimal added weight since there's no extension hair involved. Good short-term option for shorter or fragile hair, though they need daily care to avoid tangling.
- Buns and updos. Among the gentlest options when hair is simply gathered and secured, not scraped back tightly. Ideal for medium hair that needs a low-effort week.
- Faux locs. Heavier than twists, especially in long lengths, so they suit thicker, longer hair that can support the added weight.
- Crochet styles. Installed through a braided base rather than direct tension on strands, which makes them relatively low risk when the base braids themselves aren't too tight.
- Wigs and weaves. Protective only when the base isn't cinched down hard against the hairline; a loose, breathable base beats a tight one every time.
Watch for high-risk variants: micro-braids, very long or heavy extensions, and cornrows pulled tight enough to create bumps or a slicked, shiny hairline. Those three combinations, small sections, heavy add-on hair, and tight tension, show up again and again in cases of hair loss along the edges.
How to Install, Wear, and Remove a Protective Style Safely
Getting a protective style right isn't just about the finished look. It's about the routine around it, from prep to takedown.
- Before installation: Check your scalp for tenderness, flaking, or existing thinning. Cleanse and condition your hair so it's not brittle going into the style. Detangle gently, section by section, and choose extension weight that matches your hair's actual density, not the style you saw online.
- During installation: Ask your stylist for loose roots and thicker sections rather than tiny, tightly gripped ones. Speak up if you feel sharp pulling at your hairline, temples, or nape. A quick pause to check comfort costs nothing; a tight install can cost you months of regrowth.
- While wearing it: Stick to a cleansing schedule (a diluted shampoo or scalp rinse every one to two weeks works for most textures), use lightweight, water-based moisturizers instead of heavy oils that sit on the scalp, and protect your hair at night with a satin bonnet or pillowcase. Resist the urge to restyle constantly.
- At takedown: Apply a slip-inducing conditioner or oil before you touch a single braid. Work in small sections, finger-detangle before reaching for a comb, then follow with a deep conditioner and a trim if your ends need it.
Pro Tip: If a style still throbs or feels tender an hour after your appointment, that's not something you'll "get used to." Ask your stylist to loosen it that same day.
Warning Signs Your Protective Style Has Crossed the Line
Pain is not a normal part of wearing a protective style. Persistent redness, crusting, stinging, thinning along the edges, a receding hairline, or "tenting" (where you can see the scalp lifting between braids) are all signals to remove the style, not push through it.
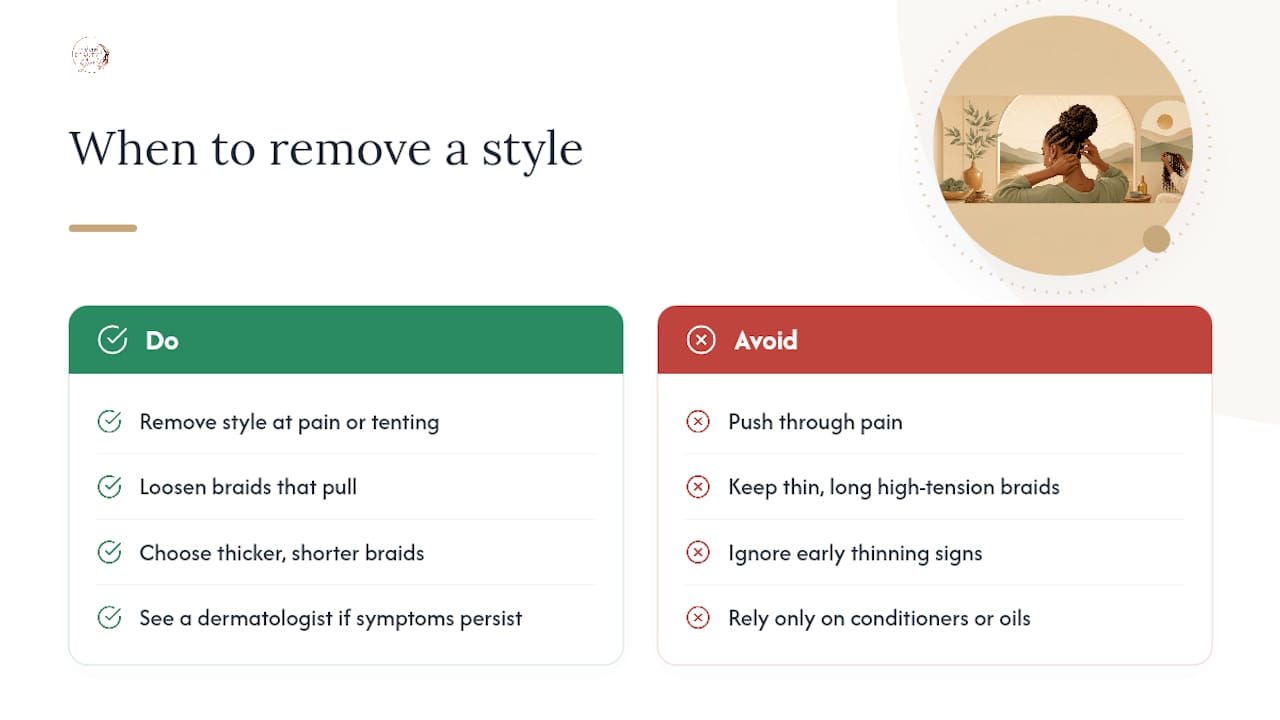
The American Academy of Dermatology advises loosening braids that pull, choosing thicker and shorter braids over thin, long ones, rotating styles regularly, and limiting tension styles to roughly 6 to 8 weeks at a time.
</div>There's a critical difference between early and late-stage traction alopecia. In the early, reversible stage, thinning shows up but the follicle is still alive. Left unaddressed, it can progress to scarring alopecia, where hair loss becomes permanent because the follicle itself is damaged. That's why the NCBI Bookshelf frames early intervention, not a stronger conditioner or a different oil, as the actual fix. If symptoms persist past a few days, a dermatologist visit is worth more than another product swap.
Matching Protective Styles to Your Hair's Length and Goals
The right style depends on what your hair can currently handle and what you're trying to accomplish, whether that's length retention, low daily upkeep, or simply surviving a busy season.
- Short or fragile hair: Flat twists, two-strand twists, bantu knots, and a low-tension wig base give you protection without adding weight your strands can't support yet.
- Medium-length hair: Loose buns, knotless braids, crochet styles, and tucked roll-ups balance style variety with manageable maintenance.
- Long or dense hair: Thicker box or knotless braids, faux locs, and long twists work well, but weight control and regular rotation matter more here than at any other length, since more hair means more pull on the root.
Longevity, scalp access, and install time trade off against each other constantly. A style that lasts eight weeks with minimal upkeep usually costs you scalp visibility during that stretch. Clinicians who work with women of African descent point out that highly textured hair carries a structural vulnerability to breakage that makes this trade-off worth taking seriously rather than defaulting to whatever lasts longest, according to MDedge.
A 4 to 6 Week Scalp Recovery Routine Worth Following
Whether you just took down a style or you're trying to protect your scalp while wearing one, a structured routine beats guesswork. Ava and the team at Theultimatebeauty-you built a scalp-health routine around a simple idea: recovery happens in weeks, not days, and skipping steps to rush back into a new style usually undoes the progress.
- Weeks 1 to 2: Gentle cleansing, protein-balanced deep conditioning, and immediate lubrication if you just removed a style. No new tension styles yet.
- Weeks 3 to 4: Targeted moisturizing focused on the hairline and any areas that showed thinning. Short, low-tension styles only.
- Weeks 5 to 6: Weekly hairline checks for regrowth or continued thinning before committing to your next protective style.
Pro Tip: Take a photo of your hairline every week during recovery. Memory lies; photos don't.
Hair growth speed itself doesn't change much from routine alone, but reducing breakage during recovery is what makes length retention possible, a distinction the Cleveland Clinic draws out clearly.
Should You DIY Your Protective Style or Book a Professional?
DIY styling saves money and lets you control tension in real time since you'll feel discomfort the moment it happens. Two-strand twists, flat twists, bantu knots, and simple buns are realistic to do yourself, especially with practice and the right prep work, like the detangling techniques covered in a curly hair routine built around soaking wet hair.
Professional installation makes more sense for styles that involve added hair, like knotless braids, faux locs, or a sewn-in weave, where uneven tension is harder to self-correct and a second pair of trained hands matters. A skilled stylist should ask about your hair's condition before starting, use appropriately sized sections for your density, and check in with you during the process rather than pushing through discomfort to finish faster.
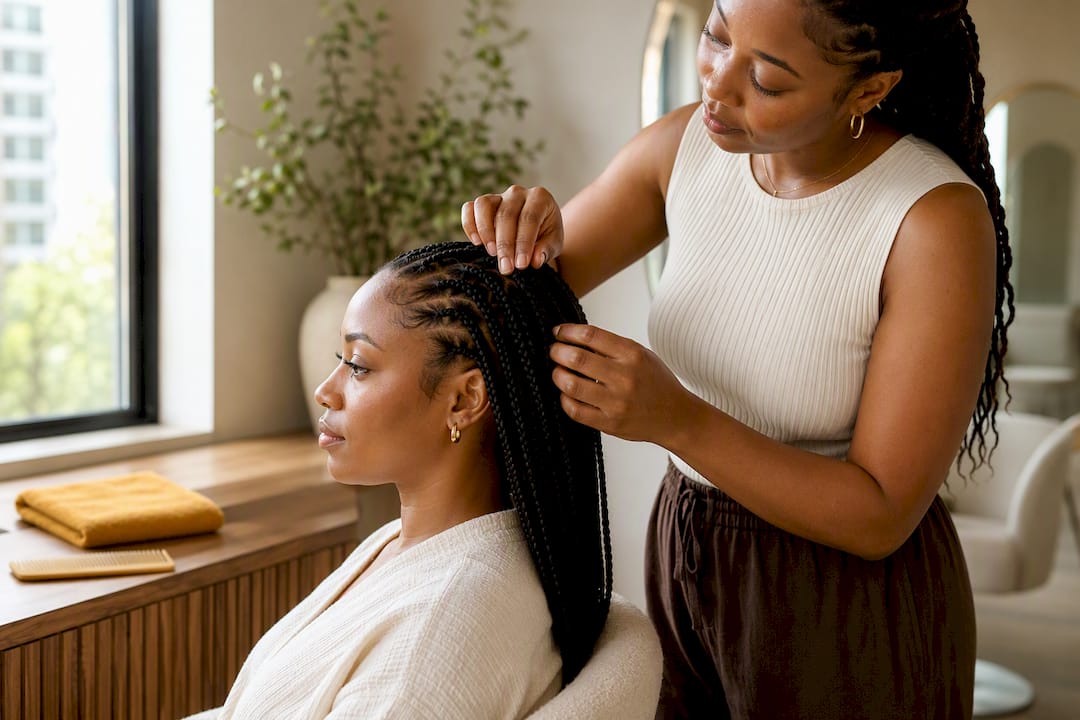
Either way, the person doing your hair, you included, needs to know the difference between "snug" and "painful." That's not a skill level issue. It's a communication issue, and it's worth practicing out loud before you're halfway through a four-hour appointment.
Beauty Is Knowing When to Change the Style
Protective styling isn't about picking one style and locking it in forever. It's about rotation, listening to your scalp, and treating maintenance as part of the style, not an afterthought. Try this: once a month, part your hair in three spots and simply look. Redness, bumps, or thinning tell you something a mirror check alone won't.
— Ava
Let Theultimatebeauty-you Guide Your Next Protective Style
Theultimatebeauty-you is built for exactly this kind of decision, where a style choice affects both how you feel and how your hair holds up over time. Instead of piecing together advice from a dozen different accounts, you get expert-backed routines, scalp-health guidance, and a community of women comparing notes on what actually works for their hair type.

The platform's scalp-health routine is a natural next stop if you're planning your next install or recovering from your last one, and pairing it with lightweight, porosity-appropriate products like the ones covered in The Holistic Science Co.'s guide to silicone-free hair care rounds out a routine that actually holds up between salon visits. If you want ongoing access to expert routines, brand recommendations, and a community that's already asking these questions, visit Theultimatebeauty-you and see what membership includes.
This article is general information, not a substitute for advice from a qualified doctor. Consult a qualified healthcare professional about your own circumstances before acting on anything here.
Sources
- Protective Hairstyles: Types, Benefits, and Finding a Stylist — Healthline
- Traction Alopecia — StatPearls / NCBI Bookshelf
- Hairstyles that pull can lead to hair loss — American Academy of Dermatology (AAD)
- Hairstyling practices to prevent hair damage and alopecia in women of African descent — MDedge
FAQ
What Hairstyle Is the Most Protective?
There's no single style that ranks as the most protective for everyone. Low-tension options like two-strand twists, flat twists, and loose buns tend to carry the lowest risk across hair types, according to NCBI, because protection depends more on tension and weight than on the style itself.
What Is the Healthiest Protective Style?
The healthiest choice is whichever style gives you scalp access for regular cleansing and doesn't pull at your hairline. Two-strand twists and loose buns usually meet both conditions, while very tight braids or heavy extensions typically don't, even when marketed as protective.
What Hair Habits Age You?
Constant tight tension at the hairline, skipping scalp cleansing for weeks at a time, and repeatedly reaching for heat tools all accelerate visible hair thinning over time. A rotation of gentler styles paired with the recovery routine from Theultimatebeauty-you helps counter that pattern.
Why Are They Called Protective Hairstyles?
They're called protective because they shield your hair's ends, the oldest and most fragile part of each strand, from daily friction, manipulation, and heat exposure. That reduced handling is what supports length retention, as Healthline notes, rather than any special growth effect.